 by Richelle Naegle
Have you ventured out and tried paper embossing yet? If you don’t know what it is, you’re not alone. The biggest reason people resist embossing is they are hesitant because they don’t understand how easy it is. Or maybe they think that it will add too much time extra time to a project. Today we are going to tell you what embossing is and show you how easy it is.
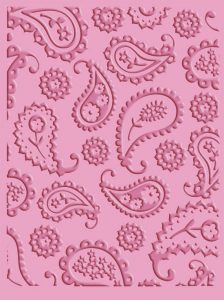
Paper embossing is the process of creating a raised image or design on your paper, cardstock or other materials. This is process is easily accomplished by placing your paper, cardstock or other media inside an embossing folder and rolling it through an embossing machine. Your paper will have the embossed “raised” image on one side and the debossed “depressed” image on the other.
What Do You Need to Emboss?
What is an embossing folder? A folder is a paper crafting implement made of hard plastic. It has a front and a backside with a design on it. One side of the folder has the design raised and the other side is depressed. When you press it together with paper, the design imprint will remain on the material. We carry a large selection of craft embossing folders including some from your favorite designers, like Teresa Collins and Anna Griffin.
Embossing Machine
 There are a few different embossing machines on the market today, such as the Cricut Cuttlebug, the Cut’N’Boss from Craftwell, and the Big Shot by Sizzix. For paper embossing, you will accomplish the same results no matter which machine you use. The biggest difference in the machines is the size they can emboss as well as some are manual hand crank machine like the Cuttlebug or an automated system like the eBosser. So when choosing which embossing machine is for you need to decide what feature is most important to you.
How to Use an Embossing Folder?
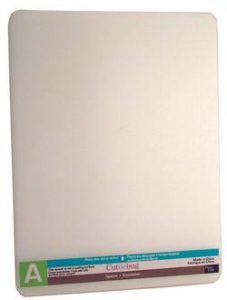
Each embossing machine will come with everything you need to get started, but if you’re like me you will definitely want Cuttlebug embossing folders. So to get started you will have various plates. With the Cuttlebug you will receive one “A” plate, this plate is thick and white, it gives the bulk to your “sandwich”
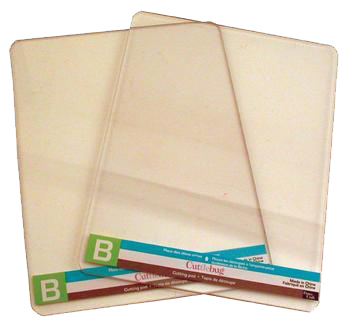 Then you get two “B” plates these are thinner and clear these plates to go around your folder allowing your paper to hold securely in place, and then, of course, your folder.
A Cuttlebug “sandwich” as it is referred to because embossing is as simple as building a sandwich. If you are using a Cuttlebug folder the “sandwich” is
- A plate
- B plate
- Embossing folder (with paper or cardstock inside)
- B Plate
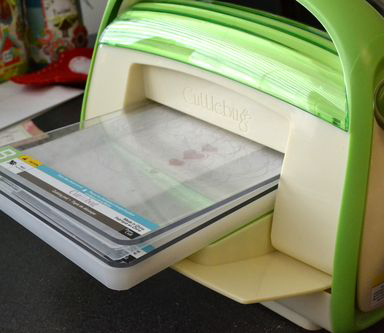 Then simply run the “sandwich” through your Cuttlebug and when you take your paper out you have a beautifully embossed paper.
Conclusion
That’s it! Quickly and easily build a sandwich to give your paper dimension and pizzazz! Here at CraftDirect.com, we offer a full line of craft supplies at great prices. You are sure to find an embossing folder or three to suit you. Find one to match the theme of your project, and you’re likely to stumble onto embossing folders that are must-have for future projects.