by Richelle Naegle
 Ever since the Marquee Love collection was released, I have been dying to try a project. I just haven’t had time! For one thing, it was hard to choose which project to do first. And to be honest, after making this one, I have added a few more to the list. The ideas were flooding in. 🙂 Almost this entire project is made with Heidi Swapp products
CraftDirect.com has made recreating this project easy and affordable with our exclusive Marquee Love USA bundle. The only items I used that are not included in the bundle are the blue spray paint and the little piece of ribbon I used. Oh and the batteries: you will need 8 AAA batteries to light up your project. Everything else is included in this kit. You won’t use all the craft glitter, glue, and washi tape, so use it on your next project, too.
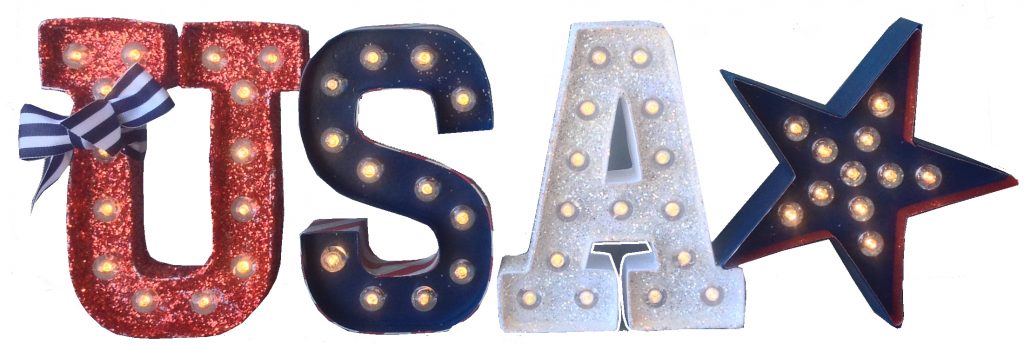
USA Project Details – Marquee Love
So let’s get started I will tell you everything I learned from making this project, in the hope that it will make it easier for you to create. I started out by spray painting the star and the “S”. These are made of a poster board type material, so they soaked up the paint! Be prepared to put on a few coats. I put three on them, and you can do the backs, but it’s really not necessary. 
For the glitter letters, I did the “U” with the Chunky Red Glitter. I used the Marquee Love glue and I found that you should apply a liberal coat of glue to the letters. Where the glue was thin, so was the glitter. I like it more glittery so make sure you use the glue. It’s a good idea to start on the outside of the inside of the letter. I started on the inside and it made doing that middle harder. And then, of course, do the outside edge last it’s where you are touching and holding.
This project takes a lot of drying time patience. So it works well that you have to paint and glitter because you can alternate between the two of them giving them some time to dry in-between.
Finishing Touches
After your paint has dried completely, you can apply the washi tape.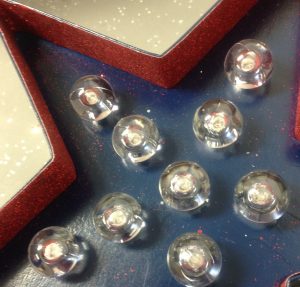 I used the 7/8″ Red Glitter Washi for the inside of the star. This tape width is perfect for the inside of any of the letters it’s made to fit perfectly on the inside of the letters.
 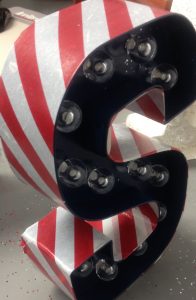 The 2″ washi tape is made to fit perfectly on the outside of the letter. I used the red and white striped washi tape for the outside of the “S”.
The trick to applying the washi tape is to go slow and be patient with it. It’s a little difficult to get into the corners and around the letters. I watched a video and she cut it into smaller strips, which seemed to work well for her. It didn’t work well for me. I found it easier to leave it on the roll, unroll quite a bit of it and just slowly work it around the corners and curves. Try it one way and if that doesn’t work for you, try it the other way, but just be patient and go slow.
Each letter comes with their own bulbs and covers and they were super easy to pop into place. Each letter also has its own pattern for how to put the lights in, so make sure you keep that at least until you get the lights placed. But that’s really it, this project did take some time I think about 3 hours to do and extra time for drying as well. But I think that it turned out so cute that it’s well worth the time to make these projects.
Share Your Patriotic Projects
Have you made a Marquee Love Project yet? I would love to see yours or if you buy this kit, send me a picture of what you created. I can’t wait to see everything you have made. Post it on our Google+ Paper Crafting Fanatics Page or even on Facebook. Save on our huge selection of Marquee Love Letters. Also, check out the Marquee Love kits that include symbols, frames, shapes, and phrases.
Happy creating!