 by Richelle Naegle
It’s time to prepare for Halloween; everybody knows the best thing about Halloween is the treats! At least, that’s what my kids tell me. So today, I thought making a few quick and easy Halloween treat bag projects would be fun.
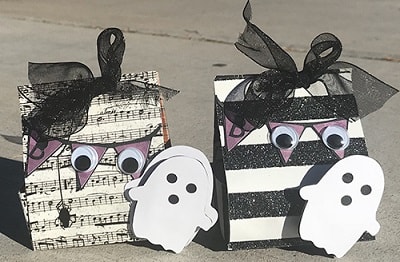
Silhouette 3D Open-Sided Halloween Favor Box
The first thing I did was get my Silhouette CAMEO (have you seen the new Pink CAMEO 3?) out and search through their Silhouette Studio until I found these cute Ghost boxes. They are called 3D Open-sided Halloween Favor Box.
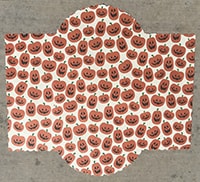
I cut them out out at 11″ tall, which allowed me to cut two boxes from one 12″ x 12″ sheet of patterned cardstock. The banner spells “Boo,” but instead of O’s, I substituted googly eyes. I think that modification turned out great
 Punch Board Treat Bags
Those treat boxes were super cute, but if you don’t want to get out of your machine and deal with the nuisance of setting everything up, try the We R Memory Keepers Punch Boards.
There are various punch boards for different types of projects and needs, so be sure to check them all out.
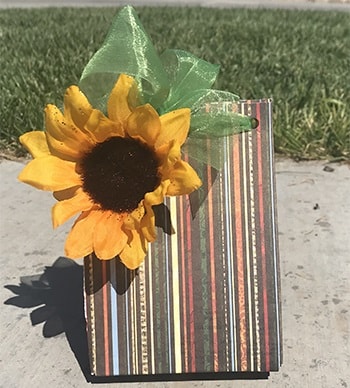
I used the Gift Bag Punch Board and made the Large sized bag. I tied it with a little ribbon and added a fun fall plastic flower as the finishing touch. I really love how this bag turned out and it was so easy with the punch board. This isn’t exactly a Halloween theme, it’s more of an autumn theme that you could use for anything during the fall season.
The beauty of all the projects I share is that you can repeat my work but make it your own. For example, put a heart on it and use it for Valentine’s.
Goodie Bags w/ a Guide Tool
 If you want to make an even easier treat bag, you could use the Goodie Bag Guide Tool, also made by We R Memory Keepers. These fun little guides make it simple and quick to make treat bags. Nevertheless, I have a brief tutorial.
To make these bags, you will need:
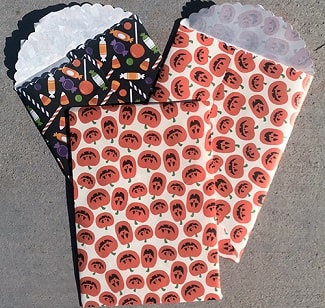
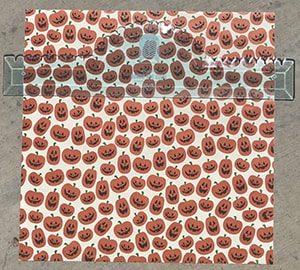
- Glassine Paper (or you can use any card stock)
- Goodie bag guide
- Adhesive
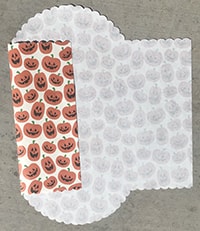
First, you want to line your Goodie Guide up along the edge of you sheet of Glassine. I like to make sure I have about an inch on the side so that I have enough room to tear the paper. Then going from the top to the middle, you simply tear the paper against the edge of the guide. Go to the middle and then stop and tear from the other side.
Second, repeat on the second side so your paper will look like this:
Third, fold each of the sides over like this:
Last, fold the bottom up like this and glue the edges and bottom down.
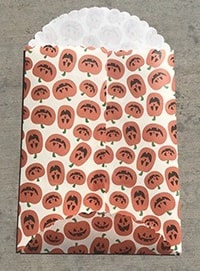
Fill it with treats, and then fold the top flap down and close it with a fun sticker or punch a couple of holes and tie it with a ribbon. This is the easiest and quickest of the bags to make, with very little prep work and even less cleanup.
Share Your Halloween Projects
I hope you enjoyed this little Halloween treat bag project tutorial. If you found it helpful, please share it on social media. Remember that you can make any of these projects anytime by changing your paper to match the season at hand.
Happy creating!